14 KiB
Prompt to NFT
In this tutorial we are going to create a dapp where we can generate NFT's by a single prompt from the user. This project has many components:
- A service that runs Stable Diffusion.
- A NextJS frontend that connects to the local Anvil node
- An NFT smart contract which is also a Infernet Consumer.
- An Infernet container which collects the prompt, calls the Stable Diffusion service, retrieves the NFT and uploads it to Arweave.
- An anvil node to which we will deploy the NFT smart contract.
Install Pre-requisites
For this tutorial you'll need to have the following installed.
Setting up a stable diffusion service
Included with this tutorial, is a containerized stable-diffusion service.
Rent a GPU machine
To run this service, you will need to have access to a machine with a powerful GPU. In the video above, we use an A100 instance on Paperspace.
Install docker
You will have to install docker.
For Ubuntu, you can run the following commands:
# install docker
sudo apt-get install docker-ce docker-ce-cli containerd.io docker-buildx-plugin docker-compose-plugin
As docker installation may vary depending on your operating system, consult the official documentation for more information.
After installation, you can verify that docker is installed by running:
# sudo docker run hello-world
Hello from Docker!
Ensure CUDA is installed
Depending on where you rent your GPU machine, CUDA is typically pre-installed. For Ubuntu, you can follow the instructions here.
You can verify that CUDA is installed by running:
# verify Installation
python -c '
import torch
print("torch.cuda.is_available()", torch.cuda.is_available())
print("torch.cuda.device_count()", torch.cuda.device_count())
print("torch.cuda.current_device()", torch.cuda.current_device())
print("torch.cuda.get_device_name(0)", torch.cuda.get_device_name(0))
'
If CUDA is installed and available, your output will look similar to the following:
torch.cuda.is_available() True
torch.cuda.device_count() 1
torch.cuda.current_device() 0
torch.cuda.get_device_name(0) Tesla V100-SXM2-16GB
Ensure nvidia-container-runtime is installed
For your container to be able to access the GPU, you will need to install the nvidia-container-runtime.
On Ubuntu, you can run the following commands:
# Docker GPU support
# nvidia container-runtime repos
# https://nvidia.github.io/nvidia-container-runtime/
curl -s -L https://nvidia.github.io/nvidia-container-runtime/gpgkey | \
sudo apt-key add - distribution=$(. /etc/os-release;echo $ID$VERSION_ID)
curl -s -L https://nvidia.github.io/nvidia-container-runtime/$distribution/nvidia-container-runtime.list | \
sudo tee /etc/apt/sources.list.d/nvidia-container-runtime.list
sudo apt-get update

# install nvidia-container-runtime
# https://docs.docker.com/config/containers/resource_constraints/#gpu
sudo apt-get install -y nvidia-container-runtime
As always, consult the official documentation for more information.
You can verify that nvidia-container-runtime is installed by running:
which nvidia-container-runtime-hook
# this should return a path to the nvidia-container-runtime-hook
Now, with the pre-requisites installed, we can move on to setting up the stable diffusion service.
Clone this repository
# Clone locally
git clone --recurse-submodules https://github.com/ritual-net/infernet-container-starter
# Navigate to the repository
cd infernet-container-starter
Build the Stable Diffusion service
This will build the stablediffusion service container.
make build-service project=prompt-to-nft service=stablediffusion
Run the Stable Diffusion service
make run-service project=prompt-to-nft service=stablediffusion
This will start the stablediffusion service. Note that this service will have to download a large model file,
so it may take a few minutes to be fully ready. Downloaded model will get cached, so subsequent runs will be faster.
Setting up the Infernet Node along with the prompt-to-nft container
You can follow the following steps on your local machine to setup the Infernet Node and the prompt-to-nft container.
Ensure docker & foundry exist
To check for docker, run the following command in your terminal:
docker --version
# Docker version 25.0.2, build 29cf629 (example output)
You'll also need to ensure that docker-compose exists in your terminal:
which docker-compose
# /usr/local/bin/docker-compose (example output)
To check for foundry, run the following command in your terminal:
forge --version
# forge 0.2.0 (551bcb5 2024-02-28T07:40:42.782478000Z) (example output)
Clone the starter repository
Just like our other examples, we're going to clone this repository.
All of the code and instructions for this tutorial can be found in the
projects/prompt-to-nft
directory of the repository.
# Clone locally
git clone --recurse-submodules https://github.com/ritual-net/infernet-container-starter
# Navigate to the repository
cd infernet-container-starter
Configure the prompt-to-nft container
Configure the URL for the Stable Diffusion service
The prompt-to-nft container needs to know where to find the stable diffusion service. To do this, we need to
modify the configuration file for the prompt-to-nft container. We have a sample config.sample.json file.
Simply navigate to the projects/prompt-to-nft/container directory and set up the config file:
cd projects/prompt-to-nft/container
cp config.sample.json config.json
In the containers field, you will see the following:
"containers": [
    {
        // etc. etc.
        "env": {
            "ARWEAVE_WALLET_FILE_PATH": "/app/wallet/keyfile-arweave.json",
            "IMAGE_GEN_SERVICE_URL": "http://your.services.ip:port" // <- replace with your service's IP and port
        }
    }
},
Configure the path to your Arweave wallet
Create a directory named wallet in the container directory and place your Arweave wallet file in it.
mkdir wallet
cp /path/to/your/arweave-wallet.json wallet/keyfile-arweave.json
By default the prompt-to-nft container will look for a wallet file at /app/wallet/keyfile-arweave.json. The wallet
directory you have created, will get copied into your docker file at the build step below. If your wallet filename is
different, you can change the ARWEAVE_WALLET_FILE_PATH environment variable in the config.json file.
"containers": [
    {
        // etc. etc.
        "env": {
            "ARWEAVE_WALLET_FILE_PATH": "/app/wallet/keyfile-arweave.json", // <- replace with your wallet file name
            "IMAGE_GEN_SERVICE_URL": "http://your.services.ip:port"
        }
    }
},
Build the prompt-to-nft container
First, navigate back to the root of the repository. Then simply run the following command to build the prompt-to-nft
container:
cd ../../..
make build-container project=prompt-to-nft
Deploy the prompt-to-nft container with Infernet
You can run a simple command to deploy the prompt-to-nft container along with bootstrapping the rest of the
Infernet node stack in one go:
make deploy-container project=prompt-to-nft
Check the running containers
At this point it makes sense to check the running containers to ensure everything is running as expected.
# > docker container ps
CONTAINER ID IMAGE COMMAND CREATED STATUS PORTS NAMES
0dbc30f67e1e ritualnetwork/example-prompt-to-nft-infernet:latest "hypercorn app:creat…" 8 seconds ago Up 7 seconds
0.0.0.0:3000->3000/tcp prompt-to-nft
0c5140e0f41b ritualnetwork/infernet-anvil:0.0.0 "anvil --host 0.0.0.…" 23 hours ago Up 23 hours
0.0.0.0:8545->3000/tcp anvil-node
f5682ec2ad31 ritualnetwork/infernet-node:latest "/app/entrypoint.sh" 23 hours ago Up 9 seconds
0.0.0.0:4000->4000/tcp deploy-node-1
c1ece27ba112 fluent/fluent-bit:latest "/fluent-bit/bin/flu…" 23 hours ago Up 10 seconds 2020/tcp,
0.0.0.0:24224->24224/tcp, :::24224->24224/tcp deploy-fluentbit-1
3cccea24a303 redis:latest "docker-entrypoint.s…" 23 hours ago Up 10 seconds 0.0.0.0:6379->6379/tcp,
:::6379->6379/tcp deploy-redis-1
You should see five different images running, including the Infernet node and the prompt-to-nft container.
Minting an NFT by directly calling the consumer contract
In the following steps, we will deploy our NFT consumer contract and call it using a forge script to mint an NFT.
Setup
Notice that in one of the steps above we have an Anvil node running on port 8545.
By default, the anvil-node image used deploys the
Infernet SDK and other relevant contracts for you:
- Registry:
0x663F3ad617193148711d28f5334eE4Ed07016602 - Primary node:
0x70997970C51812dc3A010C7d01b50e0d17dc79C8
Deploy our NFT Consumer contract
In this step, we will deploy our NFT consumer contract to the Anvil node. Our DiffusionNFT.sol
contract is a simple ERC721 contract which implements our consumer interface.
Anvil logs
During this process, it is useful to look at the logs of the Anvil node to see what's going on. To follow the logs, in a new terminal, run:
docker logs -f anvil-node
Deploying the contract
Once ready, to deploy the DiffusionNFT consumer contract, in another terminal, run:
make deploy-contracts project=prompt-to-nft
You should expect to see similar Anvil logs:
# > make deploy-contracts project=prompt-to-nft

eth_getTransactionReceipt

Transaction: 0x0577dc98192d971bafb30d53cb217c9a9c16f92ab435d20a697024a4f122c048
Contract created: 0x13D69Cf7d6CE4218F646B759Dcf334D82c023d8e
Gas used: 1582129

Block Number: 1
Block Hash: 0x1113522c8422bde163f21461c7c66496e08d4bb44f56e4131c2af57f8457f5a5
Block Time: "Wed, 6 Mar 2024 05:03:45 +0000"

eth_getTransactionByHash
From our logs, we can see that the DiffusionNFT contract has been deployed to address
0x13D69Cf7d6CE4218F646B759Dcf334D82c023d8e.
Call the contract
Now, let's call the contract to mint an NFT! In the same terminal, run:
make call-contract project=prompt-to-nft prompt="A golden retriever skiing."
You should first expect to see an initiation transaction sent to the DiffusionNFT contract:
eth_getTransactionReceipt

Transaction: 0x571022944a1aca5647e10a58b2242a83d88f2e54dca0c7b4afe3c4b61fa3faf6
Gas used: 214390

Block Number: 2
Block Hash: 0x167a45bb2d30ab3732553aafb1755a3e126b2e1ae7ef52ca96bd75acb0eeb5eb
Block Time: "Wed, 6 Mar 2024 05:06:09 +0000"
Shortly after that you should see another transaction submitted from the Infernet Node which is the result of your on-chain subscription and its associated job request:
eth_sendRawTransaction
_____  _____ _______ _    _         _
|  __ \|_   _|__   __| |  | |  /\   | |
| |__) | | |    | |  | |  | | /  \  | |
|  _  /  | |    | |  | |  | |/ /\ \ | |
| | \ \ _| |_   | |  | |__| / ____ \| |____
|_|  \_\_____|  |_|   \____/_/    \_\______|


nft minted! https://arweave.net/<arweave-hash>
nft id 1
nft owner 0x1804c8AB1F12E6bbf3894d4083f33e07309d1f38

Transaction: 0xcaf67e3f627c57652fa563a9b6f0f7fd27911409b3a7317165a6f5dfb5aff9fd
Gas used: 250851

Block Number: 3
Block Hash: 0xfad6f6743bd2d2751723be4c5be6251130b0f06a46ca61c8d77077169214f6a6
Block Time: "Wed, 6 Mar 2024 05:06:18 +0000"

eth_blockNumber
We can now confirm that the address of the Infernet Node (see the logged node parameter in the Anvil logs above)
matches the address of the node we setup by default for our Infernet Node.
We can also see that the owner of the NFT is 0x1804c8AB1F12E6bbf3894d4083f33e07309d1f38 and the NFT has been minted
and uploaded to Arweave.
Congratulations! 🎉 You have successfully minted an NFT!
Minting an NFT from the UI
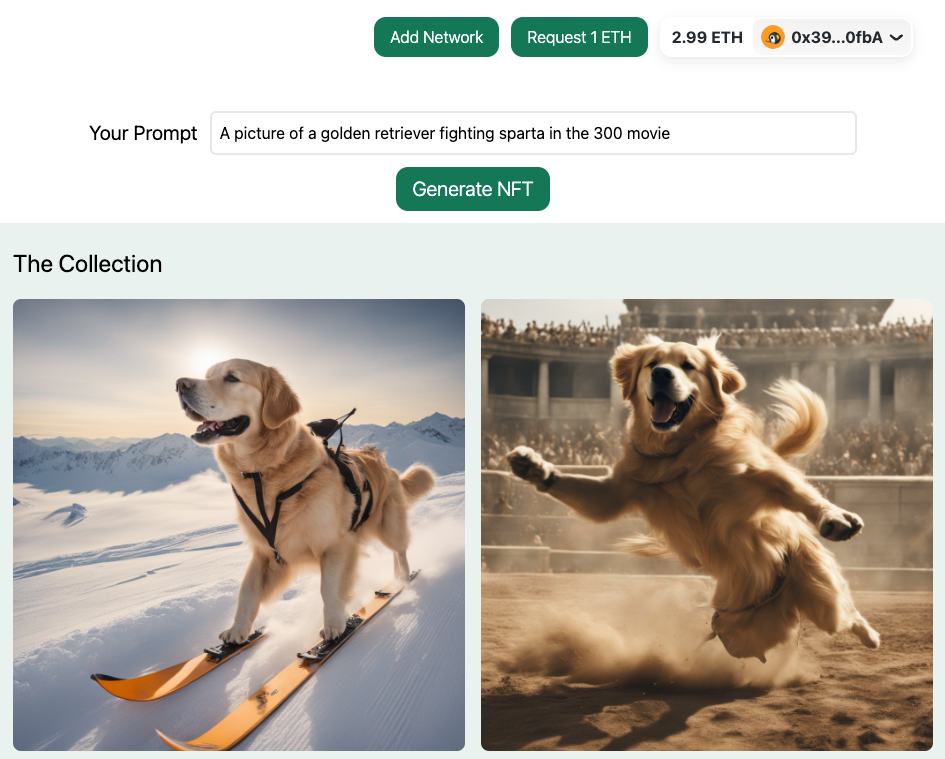
This project also includes a simple NextJS frontend that connects to the local Anvil node. This frontend allows you to connect your wallet and mint an NFT by providing a prompt.
Pre-requisites
Ensure that you have the following installed:
- NodeJS
- A node package manager. This can be either
npm,yarn,pnpmorbun. Of course, we recommendbun.
Run the UI
From the top-level directory of the repository, simply run the following command:
make run-service project=prompt-to-nft service=ui
This will start the UI service. You can now navigate to http://localhost:3001 in your browser to see the UI.
 j
j
Connect your wallet
By clicking "Connect Wallet", your wallet will also ask you to switch to our anvil testnet. By accepting, you will be
connected.
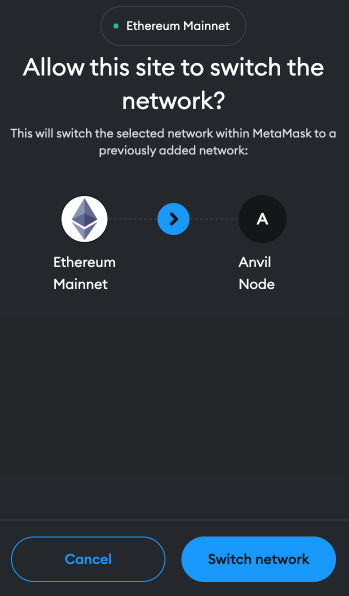
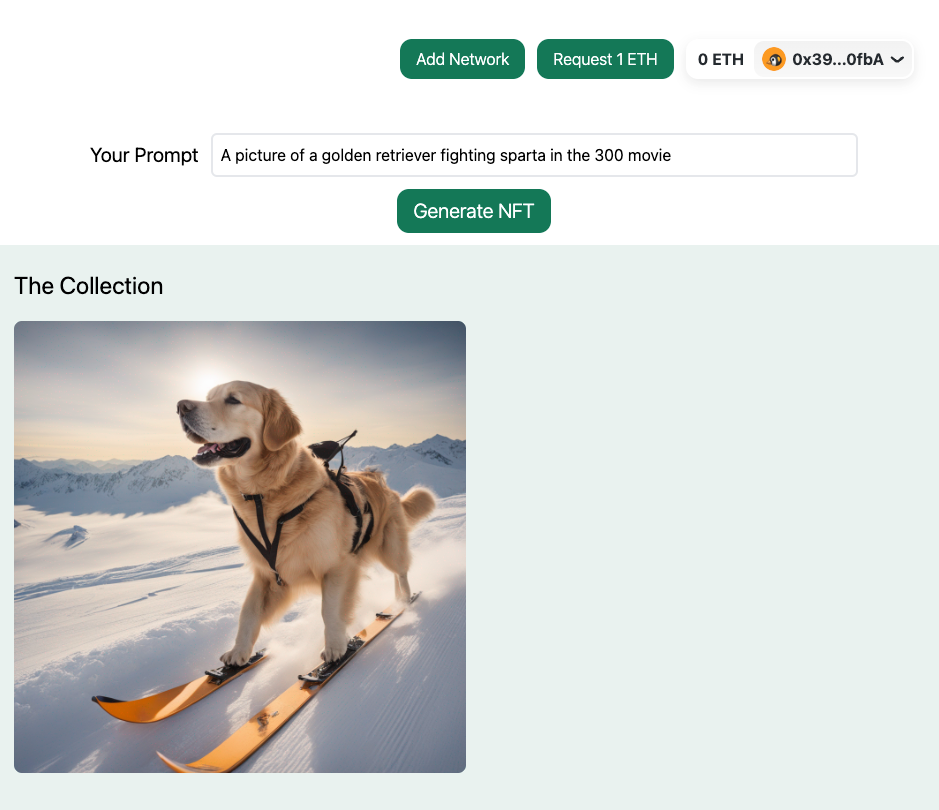
Here, you should also see the NFT you minted earlier through the direct foundry script.
Get Some ETH
To be able to mint the NFT, you will need some ETH. You can get some testnet ETH the "Request 1 ETH" button at the top of the page. If your balance does not update, you can refresh the page.
Enter a prompt & mint a new NFT
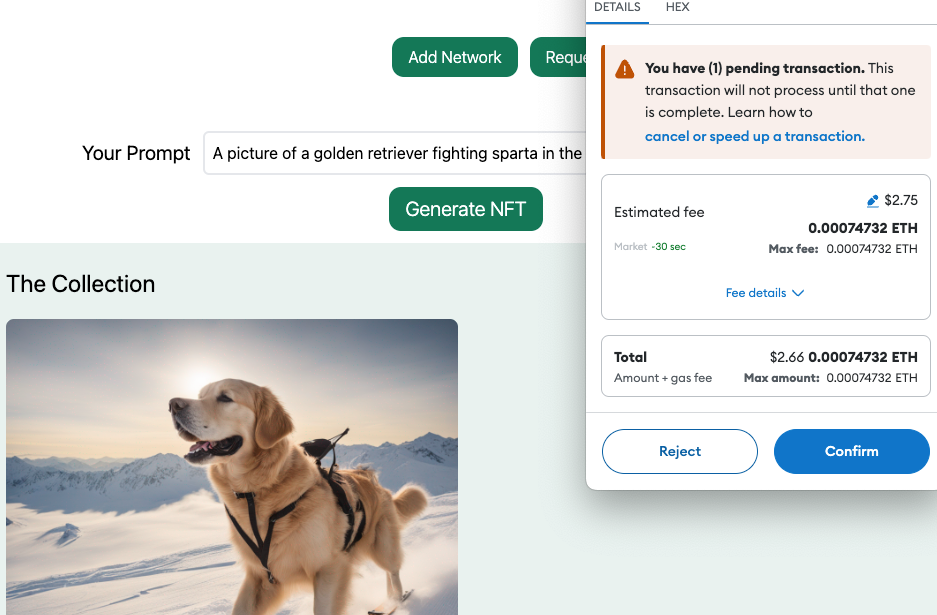
You can now enter a prompt and hit the "Generate NFT" button. A look at your anvil-node & infernet-node logs will show you the transactions being sent and the NFT being minted. The newly-minted NFT will also appear in the UI.
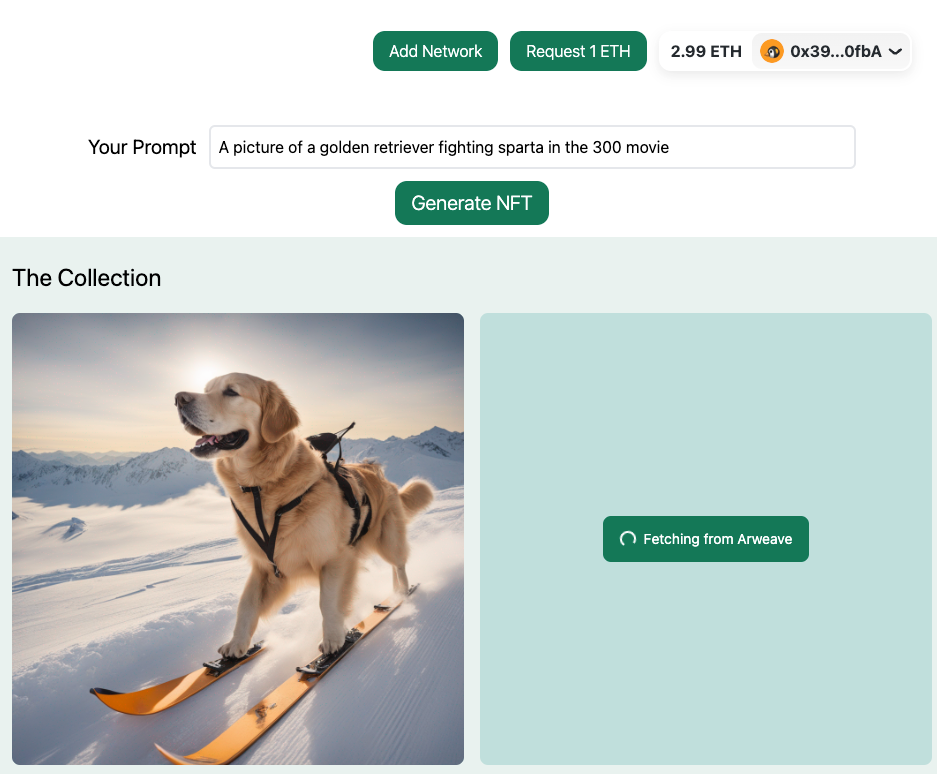
Once your NFT's been generated, the UI will attempt to fetch it from arweave and display it. This usually takes less than a minute.
And there you have it! You've minted an NFT from a prompt using the UI!
